Designing with Norstone Series - Edge Options
When working on a backsplash, fireplace, feature wall or any other application that does not require corners or terminate into another wall or abutment, you might find yourself with an exposed edge, which begs the question how do you finish an exposed edge? The answer is, it’s up to you! There are lots of different options to consider, from using edging stones to chipping individual stones directly to create a splitface look. This is a place in your project where you can get a bit creative and really give your application a unique touch while still maintaining the natural warmth of stone inherent in the product. Depending on the final look you are trying to accomplish, there are several options we recommend.
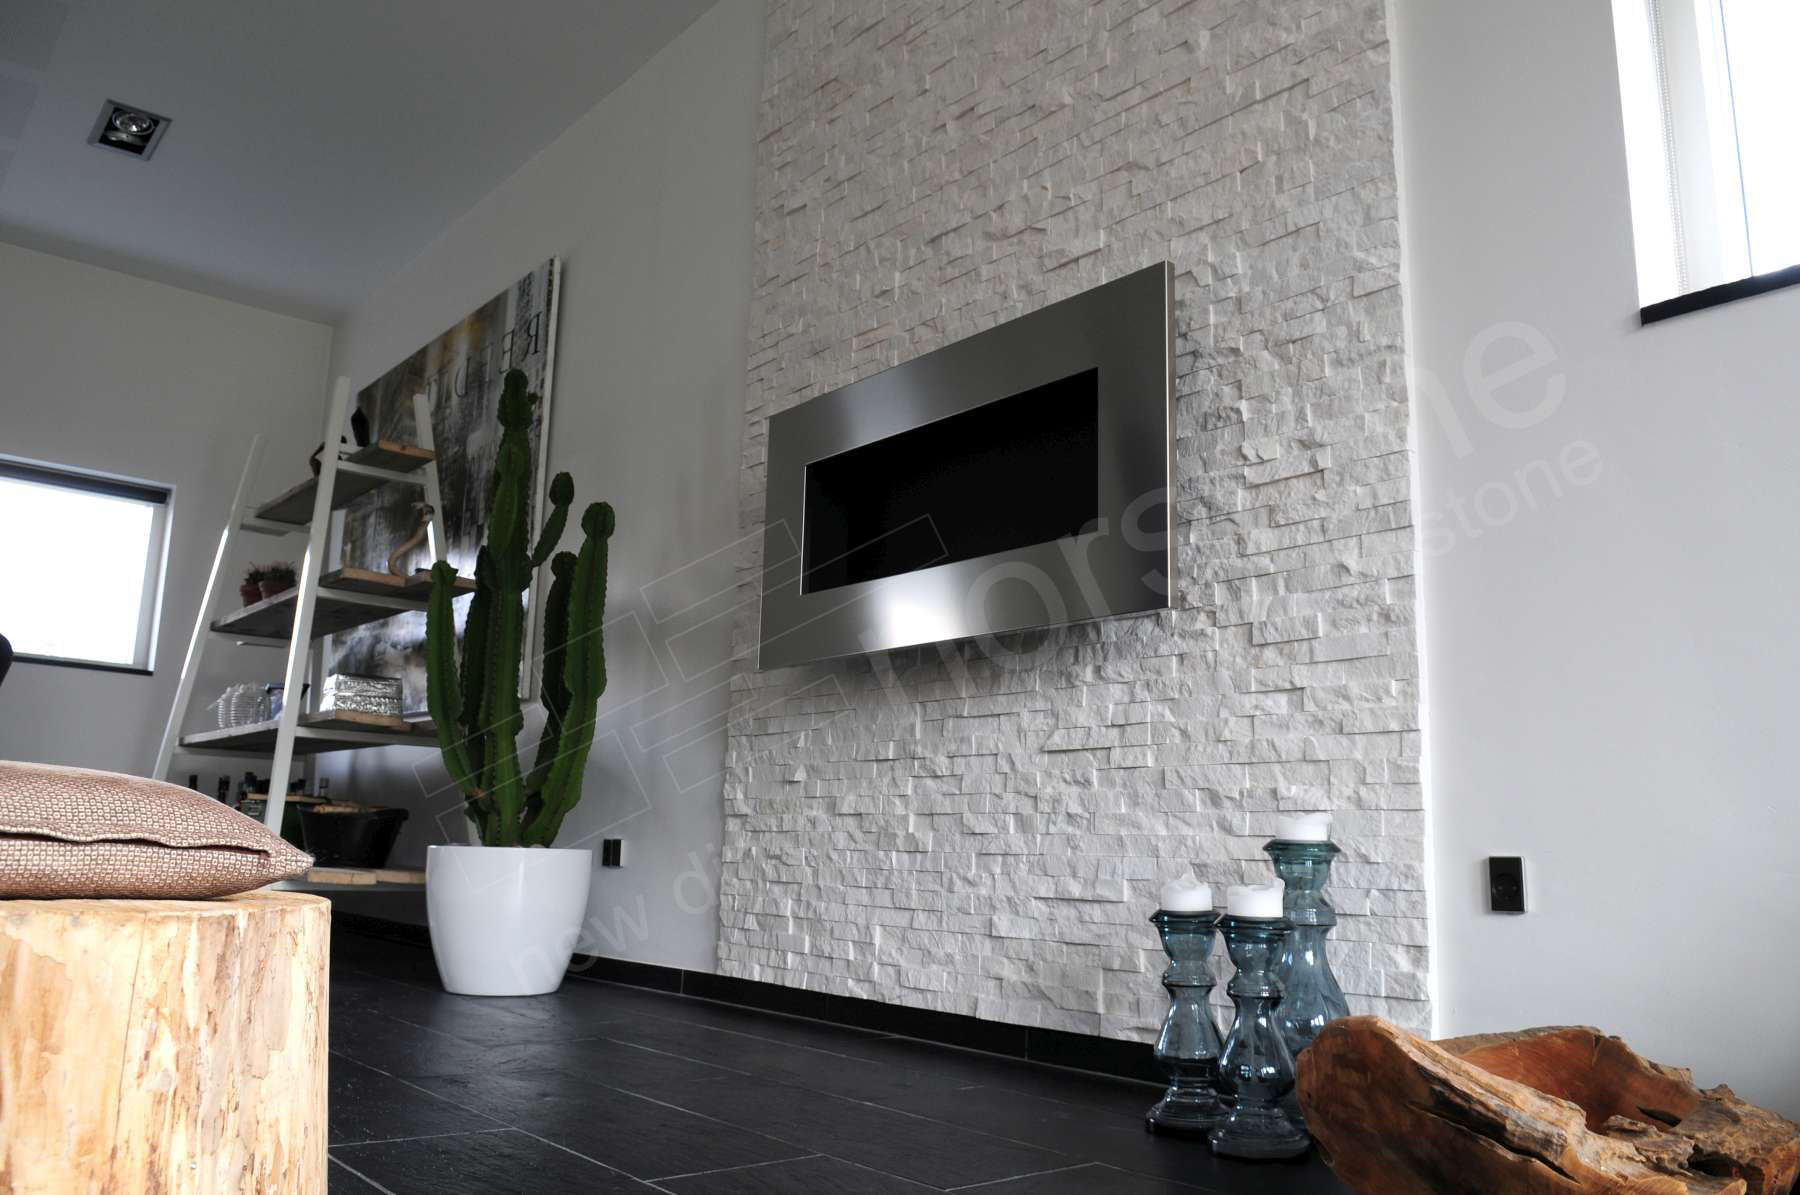
 The first option is the leave the edge exposed. Since this is natural stone, the edges of the panel will often be the same color as the face of the panel with the same warmth of stone color with the same warmth of stone color, just a different texture. This is especially true of the lighter colors, White and Ivory and to certain extent Charcoal. With the Ochre Blend color, since it’s a sedimentary quartz blend, you’ll often find different colors on the face and edge of the individual stones. The factory cut edges are smooth as opposed to the rough split face on the front of the panel. With exposed edges, you a creating a look that is more raw and modern. It takes away from the illusion that each of the individual stones is individually placed, but highlights the unique material used and provides some dimension and texture beyond just the face of the panel. Leaving the real stone edge exposed might work better for interior applications as opposed to exterior features, as you normally want to take care to make exterior projects feel like they are organic and part of nature, underscoring the natural warmth of stone, which an exposed edge can detract from.
The second option is to leave the edges exposed and use a chisel or hammer to lightly chip away some of the outer pieces on the individual stones so you no longer have a straight line. If you’ve never worked with real stone before this might seem intimidating at first, but after a few minutes working on individual stones with a hammer and chisel we promise you’ll get the hang of it! This will still create an organic feel, but will be more rugged than a straight edge. With this option, we often recommend adding in a little more overage than usual so you or your installer can have room to experiment to get the chiseling technique just right.

Another option would be to cap the edges with trim, some options being wood, stone, and metal. We suggest picking a trim that coordinates with the stone and the rest of the space and figuring out how many inches deep the stone edge is and matching that to the size of the trim. For example, if working with Charcoal rock panels in a modern room or with a sleek linear fireplace surround, a metal or chrome trim will complement the space.


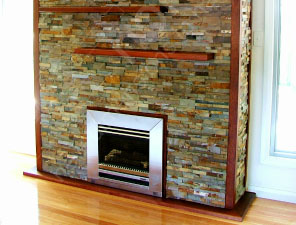
If you are working with Ochre in a more traditional space, wood trim would be the most common choice with a traditional wood stain like Cherry or Walnut compliments the color palette beautifully. The wooden trim should be used to cover the exposed edge of the stone, helping to maintain the illusion that the product is a traditionally hand stacked full bed veneer stone.
Edging stones are another possible option to consider. Edging stones, which might sometimes be called a border stone, are normally individual stones that go around the edge of an installation to make a smooth transition from the stacked stone veneer panels to the rest of the wall. Edging stones can be made of the same material as the real stone veneer, but most often are a complimentary material. Sometimes edgint stones are selected in an accent color to create a border or frame on the installation. Edging stones might also be referred to as bullnose or pencils, depending on the type of material being used. Since most of the real stone products Norstone makes have a native horizontal orientation, edging stones are typically installed along a perpendicular axis to create the border effect.
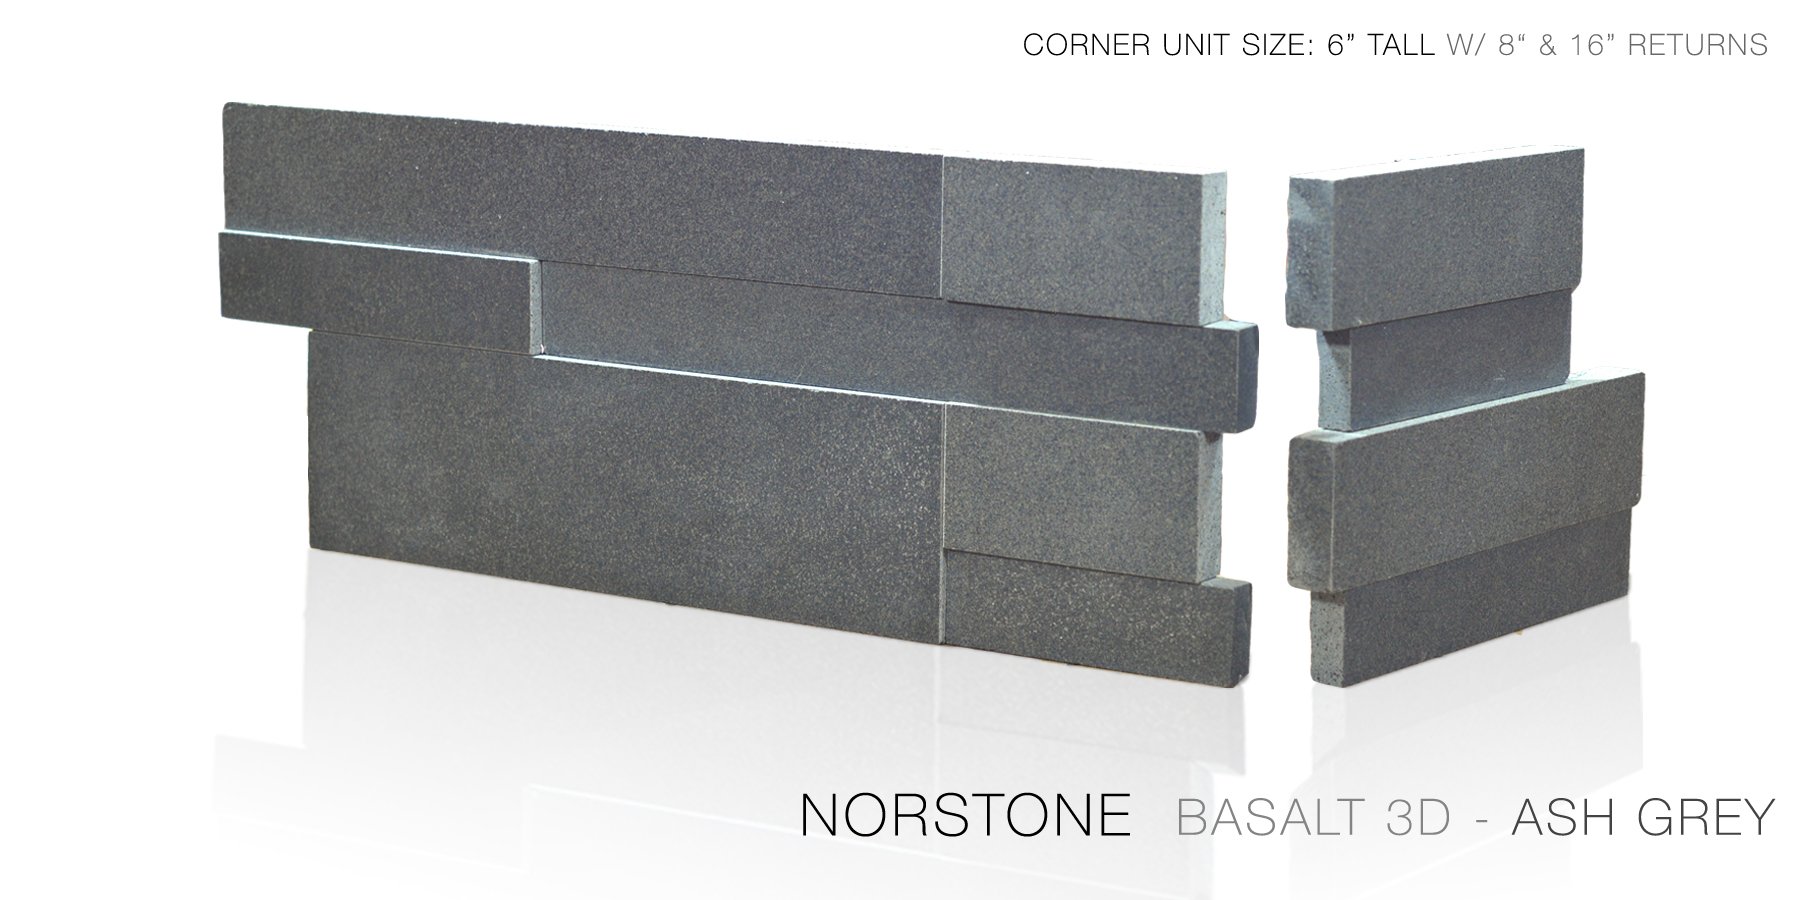
While all of the options discussed above offer suitable ways to address the edge option, Norstone saw the need to address this at the manufacturing and fabrication level and created Natural End panels for our Standard Rock Panels, XL Rock Panel, and Slimline Series Stacked Stone Veneer Panels in 2019. The Natural end “unit” consists of two pieces, one approximately 8” long and the other around 16” long.

On the short 6” vertical edge of each piece the edge profile of the individual stones is left in its natural / cleft state. The two sizes per unit allow for optimal staggering where starting a row at a natural end, and there are 4 of these units per box, which means each box contains 4 lineal feet of natural end. Natural Ends are a fantastic addition to the stacked stone veneer panels and are perfect for any application where the stone needs to stop mid wall and there’s not a natural place to but it into, such as a door casing, built in, etc.
Whichever option you choose, whether its to leave the stacked stone veneer panels “as is”, use edging stones, or leverage our Natural End Panels, your Norstone application is sure to maintain the natural warmth of stone the veneers provide, look great and catch everyone’s attention. Go with the choice that works best with your style and the design of the space and feel free to contact a Norstone expert to discuss your project and what edge option might work best for you. Our experts are able to assist via phone, text or email to ensure you get the right finish everytime.
.png)


